I've had another request for eye appealing security windows.
Eye Candy's Tim Sagges gave me a call with the question: "Can you do window bars that don't look like window bars?". I love a good challenge. "Of course I can."
See, Tim just expanded his small business from one store, to two. He recently opened a store in Liberties Walk, An ever growing entity in Northern Liberties, and he wants to protect his investment with class. He needs security bars across his six window storefront.
Tim, had shown me some examples of what he had seen and what he liked, colors, etc., then we went from there. With a little thought, some design time and a little artistic license, I came up with a set of drawings.
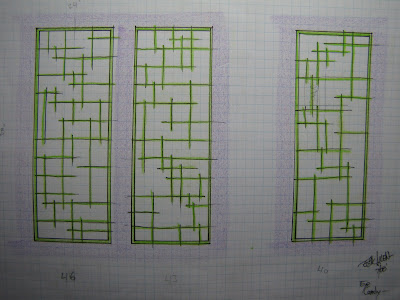
I went with a
Mondrian style grid pattern. It's has a light feel, a flowing pattern and some style. This way the store has security with a sense of design, that overshadows the actual "window bars". They will also appear less static due to the hierarchy in grid pattern, giving an air of movement.
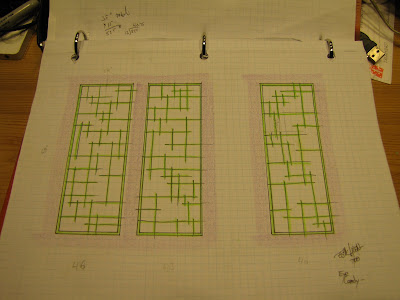
Tim liked the design... Yee-haw! That's cowboy for: Awesome! Now I just needed to figure out how to make it. Sometimes it's hard to translate a drawing into actual procedure. That definitely was the hardest part of this project. But, I figured it out and came up with a plan of action.
I wound up using 1 1/4" x 1/8" flat steel as the main material. Then, I laid out each window design with a grid pattern on my welding table. With the pattern set, I cut each piece to length, then actually slotted all the intersections. It was a little time consuming (maybe a little more than I would have liked), but the outcome was exactly what I wanted. Check it out.

After many, many hours and once again, lots of coffee... the process was dialed and the fabrication was complete. I slapped on a couple coats of color-matched paint and called it a day. I'm proud to say this one is a success. Take a look at the finished work.
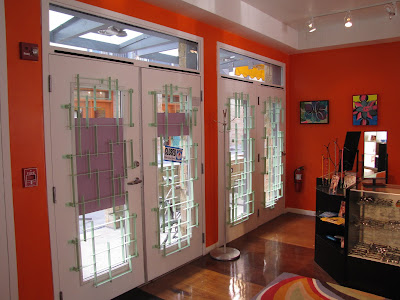

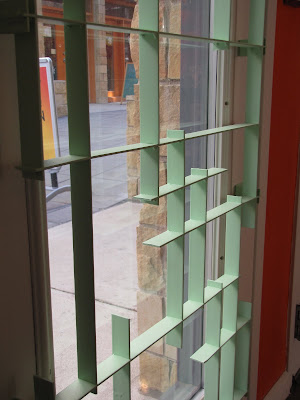
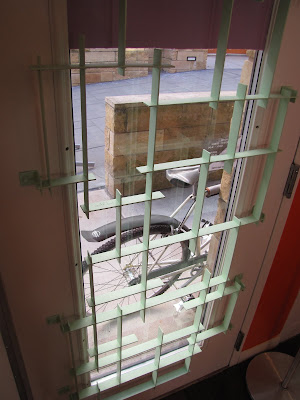

Hey look, there's Tim.

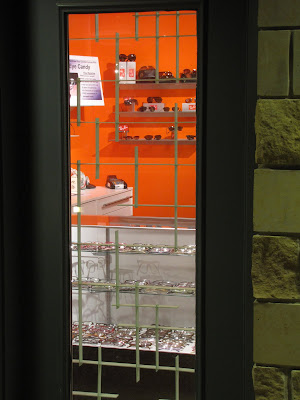

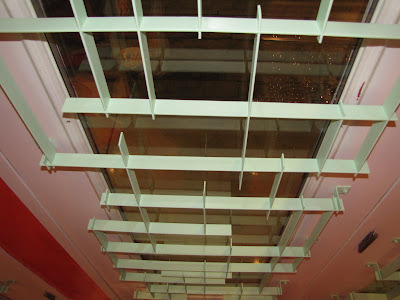

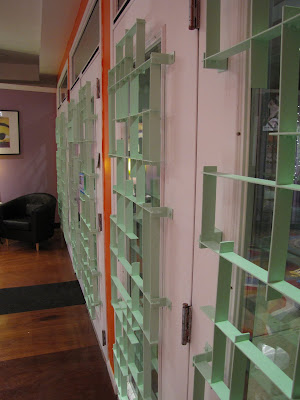
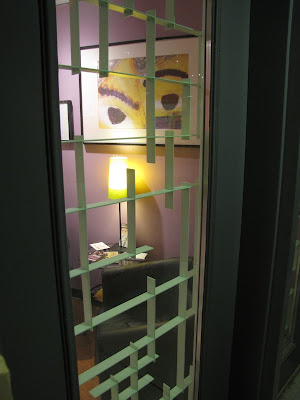


The store looks great. The windows look great. Tim's Happy. I'm Happy. Another great project completed. So, if you want a closer look, go to the store and see for yourself.
EA-

